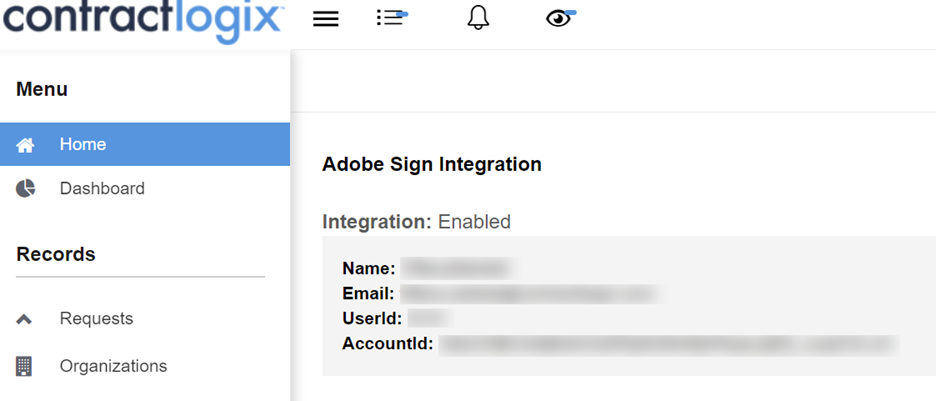
Adobe Sign Setup Instructions
Contract Logix provides a packaged integration with Adobe Sign so that you can get contracts signed without ever leaving the Contract Logix contract management software platform. This helps you execute contracts quickly, efficiently, compliantly, and from anywhere on any device. Below are some simple instructions on how to activate Adobe Sign within Contract Logix.
Application Settings
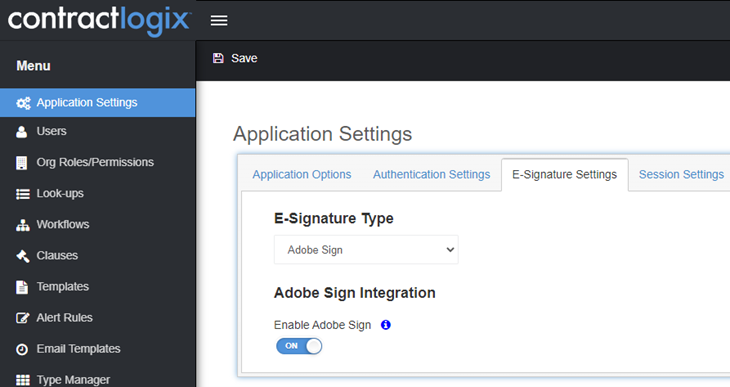
- Click the Settings cog and click on the “E-Signature Settings” tab while in Application Settings
- For E-Signature Type, select “Adobe Sign”
- Under Adobe Sign Integration toggle “Enable Adobe Sign” ON
- Click “Save” at the top
Integrating Users
When integrating users, there are 2 options. You can either “Integrate Now” as the currently logged-in User or “Send the Integration Email” to other Users. The 2nd option is commonly used to integrate non-administrators who don’t have access to the Settings area in Contract Logix.
Option 1 – To Integrate the Current Logged in User (Yourself):
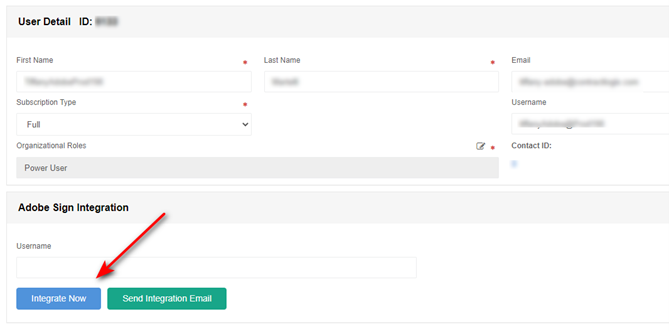
- Navigate to the “Users” in the left nav and find your User record.
- Once on the User Detail page, click on the “Integrate Now” button
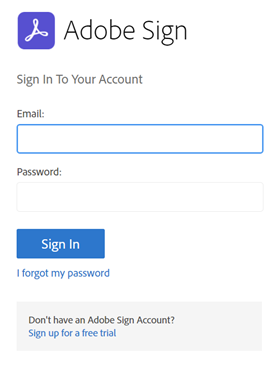
- You will then be brought to the Adobe Sign login page
- Enter your email address that is linked to your Adobe Sign account.
- Click into the password box but do NOT enter your password. Wait for the next page to load.
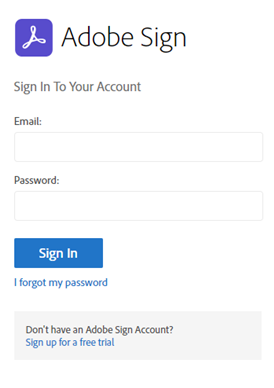
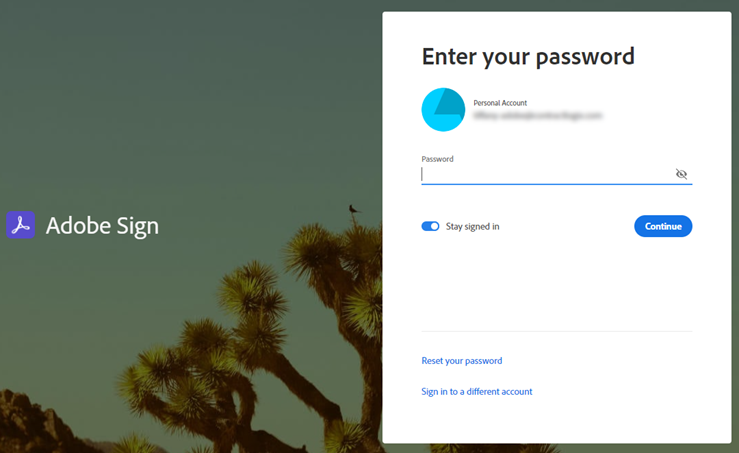
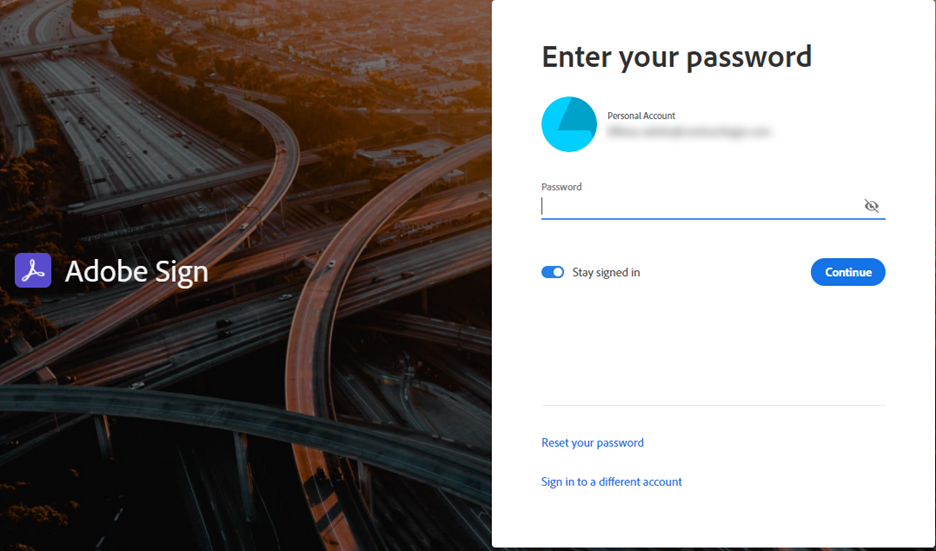
- Once the next page loads, enter your password for your Adobe Sign account and click Continue.
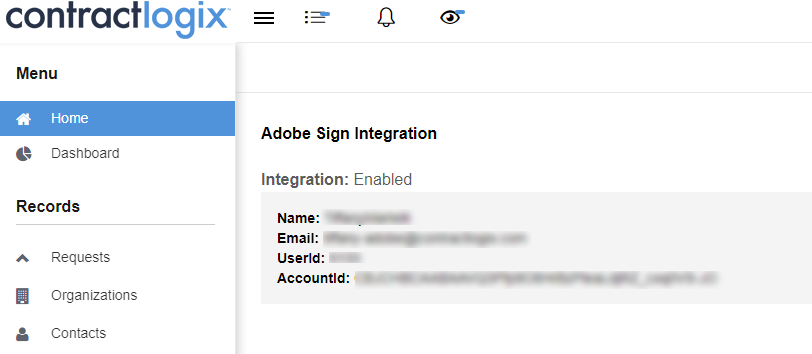
- You should then be brought to the below confirmation page.
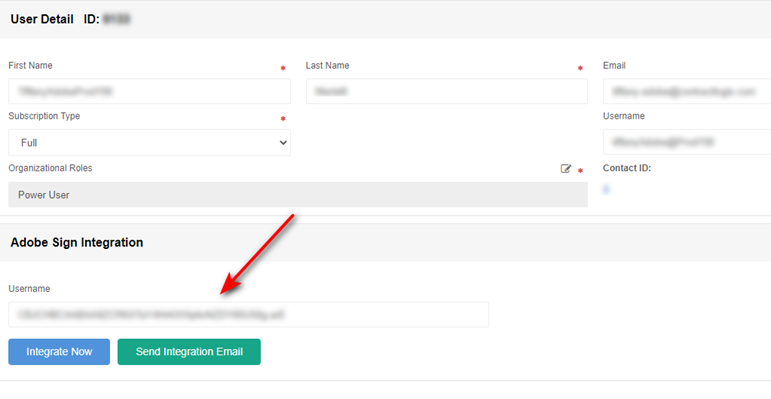
- In this User’s User Record, you will now see the Adobe Sign key.
- This User can now check out documents for Adobe Sign in Contract Logix.
Option 2 – To Integrate Others:
As the Contract Logix Admin:
- Navigate to the “Users” in the left nav and find the User record you want to integrate.
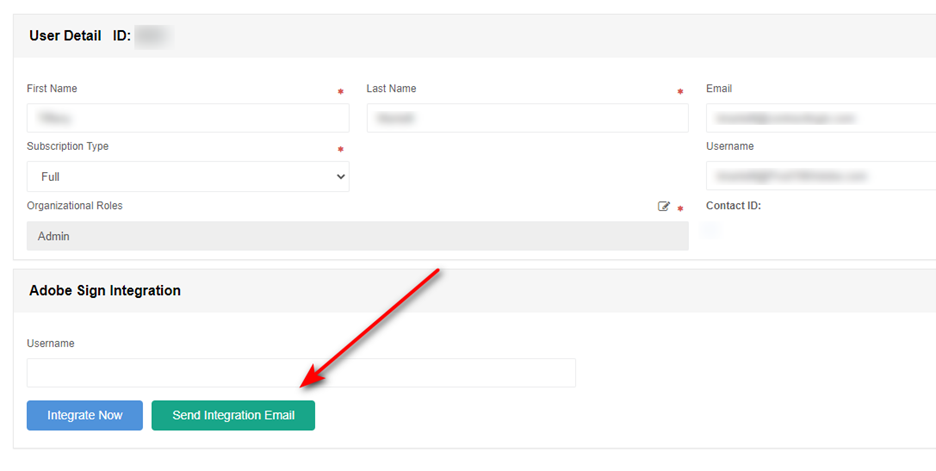
- Once in the User Detail page, click on the “Send Integration Email” button
- You will see a pop up modal that says “Integration Email Sent.”
- Click OK
- Once the User completes the below steps, you will see the Adobe Sign key in this User’s User record.

As the User Integrating:
- This User should first log into Contract Logix (in their default browser)
- This User will receive an email from Contract Logix, requesting consent to enable Adobe Sign e-signature. Email example below.

- This User will need to click on “Enable Adobe Sign” in that email.
- Once clicked, the User will be brought to the Adobe Sign login page. (If not already logged into Contract Logix, open a new tab in this browser window and login.)
- Enter the email address that is linked to your Adobe Sign account.
- Click into the password box but do NOT enter your password. Wait for the next page to load.
- Once the next page loads, enter your password for your Adobe Sign account and click Continue.
- You should then be brought to the below confirmation page.
